 Daniel Mitchell
Key Takeaways
- After a filter change, run several cups through the dispenser to flush air and activation residue, then reset the filter indicator.
- Replace the filter every six months regardless of the indicator, or every four months for heavy use or hard water.
- An overdue filter restricts flow enough to slow the dispenser and cause ice maker fill timeouts.
- Use a genuine or verified OEM filter matched to your model; generic filters can leak or restrict flow.
- Inspect the supply line and fittings once a year, and insulate any line that crosses a cold space.
The Bottom Line
Flush the line every time the filter changes and after any long absence. If the dispenser stays slow or the ice maker still times out with a fresh filter, the supply or the inlet valve is next.
A new water filter is not finished when the old one is out. The cartridge arrives dry, the lines are full of air or of water that has been sitting, and the first glasses from the dispenser can come out cloudy, sputtering or tasting faintly of the new filter. A KitchenAid refrigerator water dispenser line flush takes only a few minutes, uses nothing but water and clears all three before the first glass reaches the table. The same habit helps after a long absence, and it is the quickest way to tell a filter problem from a line problem.
| Situation | Flush the line? | Notes |
|---|---|---|
| A new filter has just been fitted | Yes | Run several cups to clear air and activation residue |
| The refrigerator sat unused or the house was empty | Yes | Water that sat in the line should not be served |
| The water tastes flat or off | Replace the filter first, then flush | An overdue cartridge is the usual cause |
| The dispenser is slow or the ice maker times out | Replace the filter, then check supply | A clogged filter restricts the flow |
| A fitting is wet or leaking | No: shut off the supply | Fix the leak before running more water |
How Do You Flush a KitchenAid Refrigerator Dispenser Line?
Run water through the dispenser into a container after the filter change until the stream runs clear and steady. Our refrigerator water filter notice describes the procedure in outline: turn the old filter counter-clockwise to remove it, insert the new one, run several cups through the dispenser to flush air and activation residue, and reset the filter indicator on the control panel. The exact steps and volume differ by model, so your use-and-care guide has the final word.
- Remove the old cartridge — turn it counter-clockwise, and keep a towel under the housing.
- Fit the new one — match the part number for your model, and seat it until it stops.
- Run water into a pitcher — hold the pitcher against the dispenser paddle and keep going until the stream is steady and clear.
- Look for sputtering — air in the line causes spitting and cloudy water, which clears as the line fills.
- Reset the filter indicator — so the six-month reminder starts from today.
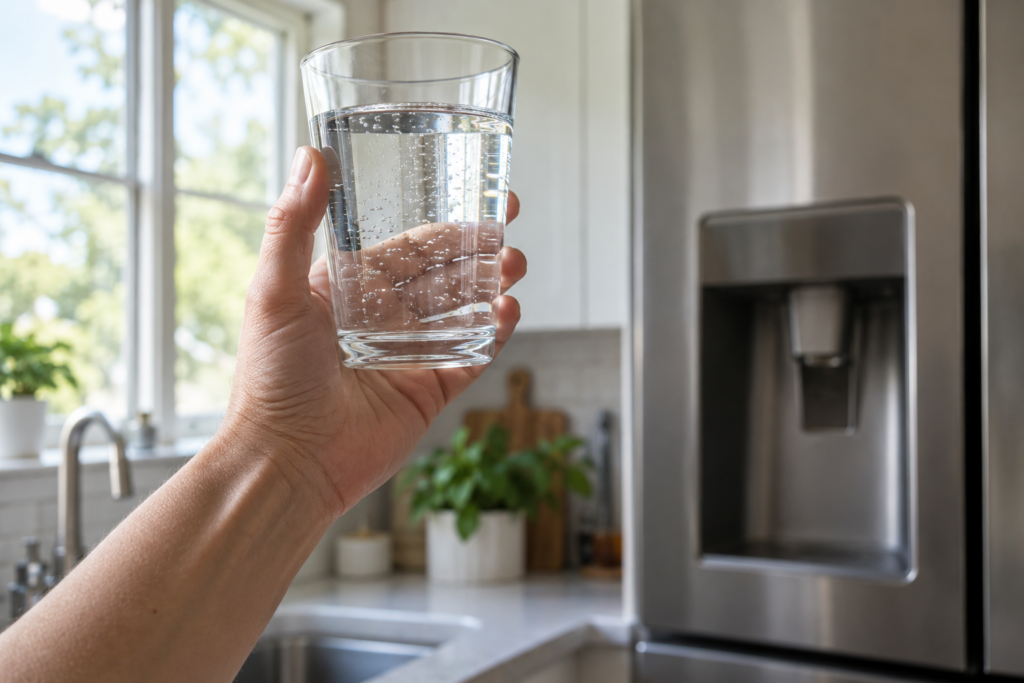
How to know the flush is done. Three signs tell you the line is clear, and none needs a tool. The stream is steady and not spitting, the water in a clear glass has no bubbles or cloudiness once it settles and there is no taste of the new cartridge.
- Steady stream — spitting means there is still air in the line.
- Clear glass — hold it up to the light, and any cloudiness should clear within a few seconds.
- Clean taste — if a taste lingers after several cups, keep running water and check the filter fit.
Check your use-and-care guide for whether it suggests discarding the first batch or two of ice after a filter change.
When Should You Flush the Dispenser Line?
After every filter change, and any time the refrigerator has been unused for a while. The notice recommends replacing the filter every six months regardless of the indicator, every four months for heavy use or hard water, and within two weeks of the indicator appearing. A flush belongs with each of those changes, so it follows the same calendar.
- Standard use — every six months, with the filter.
- Large households and hard water — every four months, because scale builds faster.
- After a long absence — run the dispenser until the water is fresh, whatever the filter date.
- When the indicator appears — change the filter within two weeks and flush on the same day.
Why Does an Overdue Filter Slow the Dispenser and the Ice Maker?
Because it restricts the flow of water through the whole refrigerator, not just the dispenser. Our notice says an overdue filter no longer removes contaminants effectively and restricts water flow enough to cause ice maker fill timeouts, the FL code, and slower dispenser response. Our ice maker FL page lists a clogged or overdue filter as the first cause of a fill timeout.
That makes the filter the cheapest part to rule out for a whole family of symptoms. If the dispenser slows and the ice maker stops filling at the same time, change the filter and flush before you look at the supply or the inlet valve.
- Use a genuine or verified OEM filter — the notice warns that generic or uncertified filters vary in quality and can leak or restrict flow.
- Match the part number — the right cartridge for your model, not a near fit.
- Check the NSF certification — it verifies the contaminant removal that the filter claims.
What If the Water Still Tastes Wrong After the Flush?
Then the filter was probably not the only cause, and the next suspects are the line and the supply. A taste that returns after a fresh filter and a proper flush can come from the water that sits in the refrigerator's own tubing, from a supply line that is old or from the household water itself. Run the dispenser for a minute and taste again, because water that has sat is the usual culprit.
- Taste the household tap — if it tastes the same, the source is upstream of the refrigerator.
- Look at the filter housing — our notice for built-in column freezers says to inspect the cartridge housing for cracks or staining.
- Check the supply connection — moisture, corrosion or staining at a fitting is a reason to call.
The Water Line Behind the Refrigerator
The line that feeds the dispenser and the ice maker deserves a look once a year. Our freezer water line notice gives the routine for built-in column freezers, and it applies to any refrigerator on a water line: trace the line from the shutoff valve to the connection, look for moisture, staining or corrosion at the fittings, and confirm the valve operates smoothly and does not leak. A line that runs through an unheated space needs insulation against freezing, because ice can rupture the tubing.
A built-in ice maker has its own routine. Our ice maker cleaning guide covers the cleaning cycle, which is a separate job from flushing the dispenser line. For the rest of the refrigerator's routine, see the refrigerator maintenance guide.
When the Flush Does Not Fix It
If the dispenser is still slow with a fresh filter, or the ice maker still times out, the cause is further along: a restricted supply or an inlet valve that is not opening fully. Our refrigerator repair page lists what a visit covers, and the ice maker repair page covers the ice side. Book a visit or tell us the model number and what the dispenser does and we will advise on the next step.